Before a renter reads your description, checks your price, or looks at your reviews, they look at your photos. For a rental listing, that first look is doing more work than almost anything else on the page — it's the difference between "this looks like a real ATV I can trust" and "this looks like a stock photo from a catalog."
Most rental businesses don't have a photography problem because they can't take a decent picture. They have one because nobody ever wrote down what to shoot, and equipment photos get added the same way everything else gets added when you're busy: fast, inconsistent, and usually with a phone held sideways in a dark garage.
This is a practical shot list and workflow, not a photography course. We build rental booking software (Renta), so we'll be specific about the mechanics of getting photos onto your listings — formats, size limits, and the parts of the process that are easy to get wrong — rather than staying abstract.
Why photos matter more for rentals than for retail
A retail buyer is evaluating a product. A rental customer is evaluating whether to trust a stranger's equipment with their weekend — and whether that equipment will show up looking like what they saw online. That trust gap is the whole reason photos carry so much weight for a rental listing specifically:
- Renters can't inspect the item before paying, unlike a store where they can pick it up first. Photos are the only inspection they get.
- Condition transparency prevents disputes. A renter who saw a clear photo of existing scuffs on a kayak won't dispute that scuff at return. One who saw a glossy manufacturer stock photo will.
- Stock and manufacturer photos actively erode trust the moment they don't match reality. If your listing photo is a brand-new catalog shot and the ATV that shows up has 400 hours on it and visible wear, you've manufactured a disappointment at pickup — the worst possible moment for one.
That last point matters enough to repeat: using a manufacturer's stock photo isn't a shortcut, it's a liability. It sets an expectation your actual equipment then has to fail to meet.
What you can actually upload
Before the shot list, the mechanics — because a great photo that won't upload doesn't help anyone. Renta's fleet photo uploads accept JPEG, PNG, WebP, or GIF, up to 10 MB per file. There's no dimension or aspect-ratio requirement, and no built-in cropping tool, so composing and cropping the shot correctly before you upload is on you — get it right on your phone or in a free editor first, not after.
Two practical consequences worth knowing:
- There's no designated cover photo. Photos are stored as a plain list, not a hierarchy, and the storefront displays them in the order attached to the item. That means the first photo you upload functions as your hero image whether you intended it to or not — so upload deliberately, hero shot first, not whatever's first in your camera roll.
- 10 MB is generous, but modern phone photos can exceed it. A single uncompressed photo from a recent phone in full resolution can approach or exceed that limit. Compress before uploading rather than finding out the upload silently fails.
The shot list: five photos, every item, every time
Consistency is what makes a fleet of listings look professional instead of improvised. Use the same five shots for every item in a category, in the same order:
1. The hero shot. Clean background, good light, the whole item in frame, nothing else in the shot. This is what shows first — treat it like a cover.
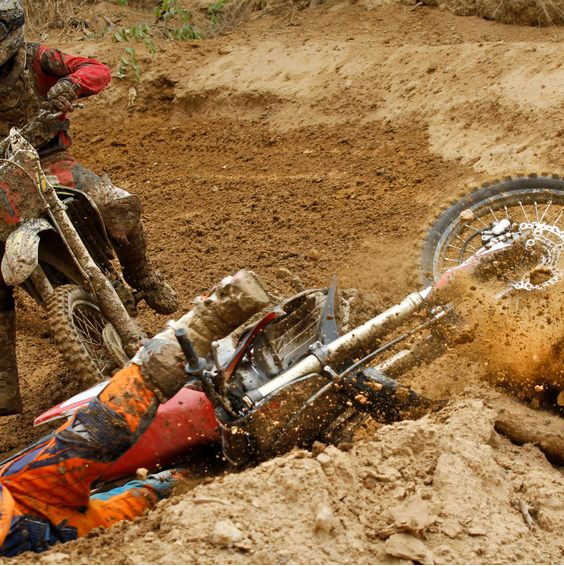
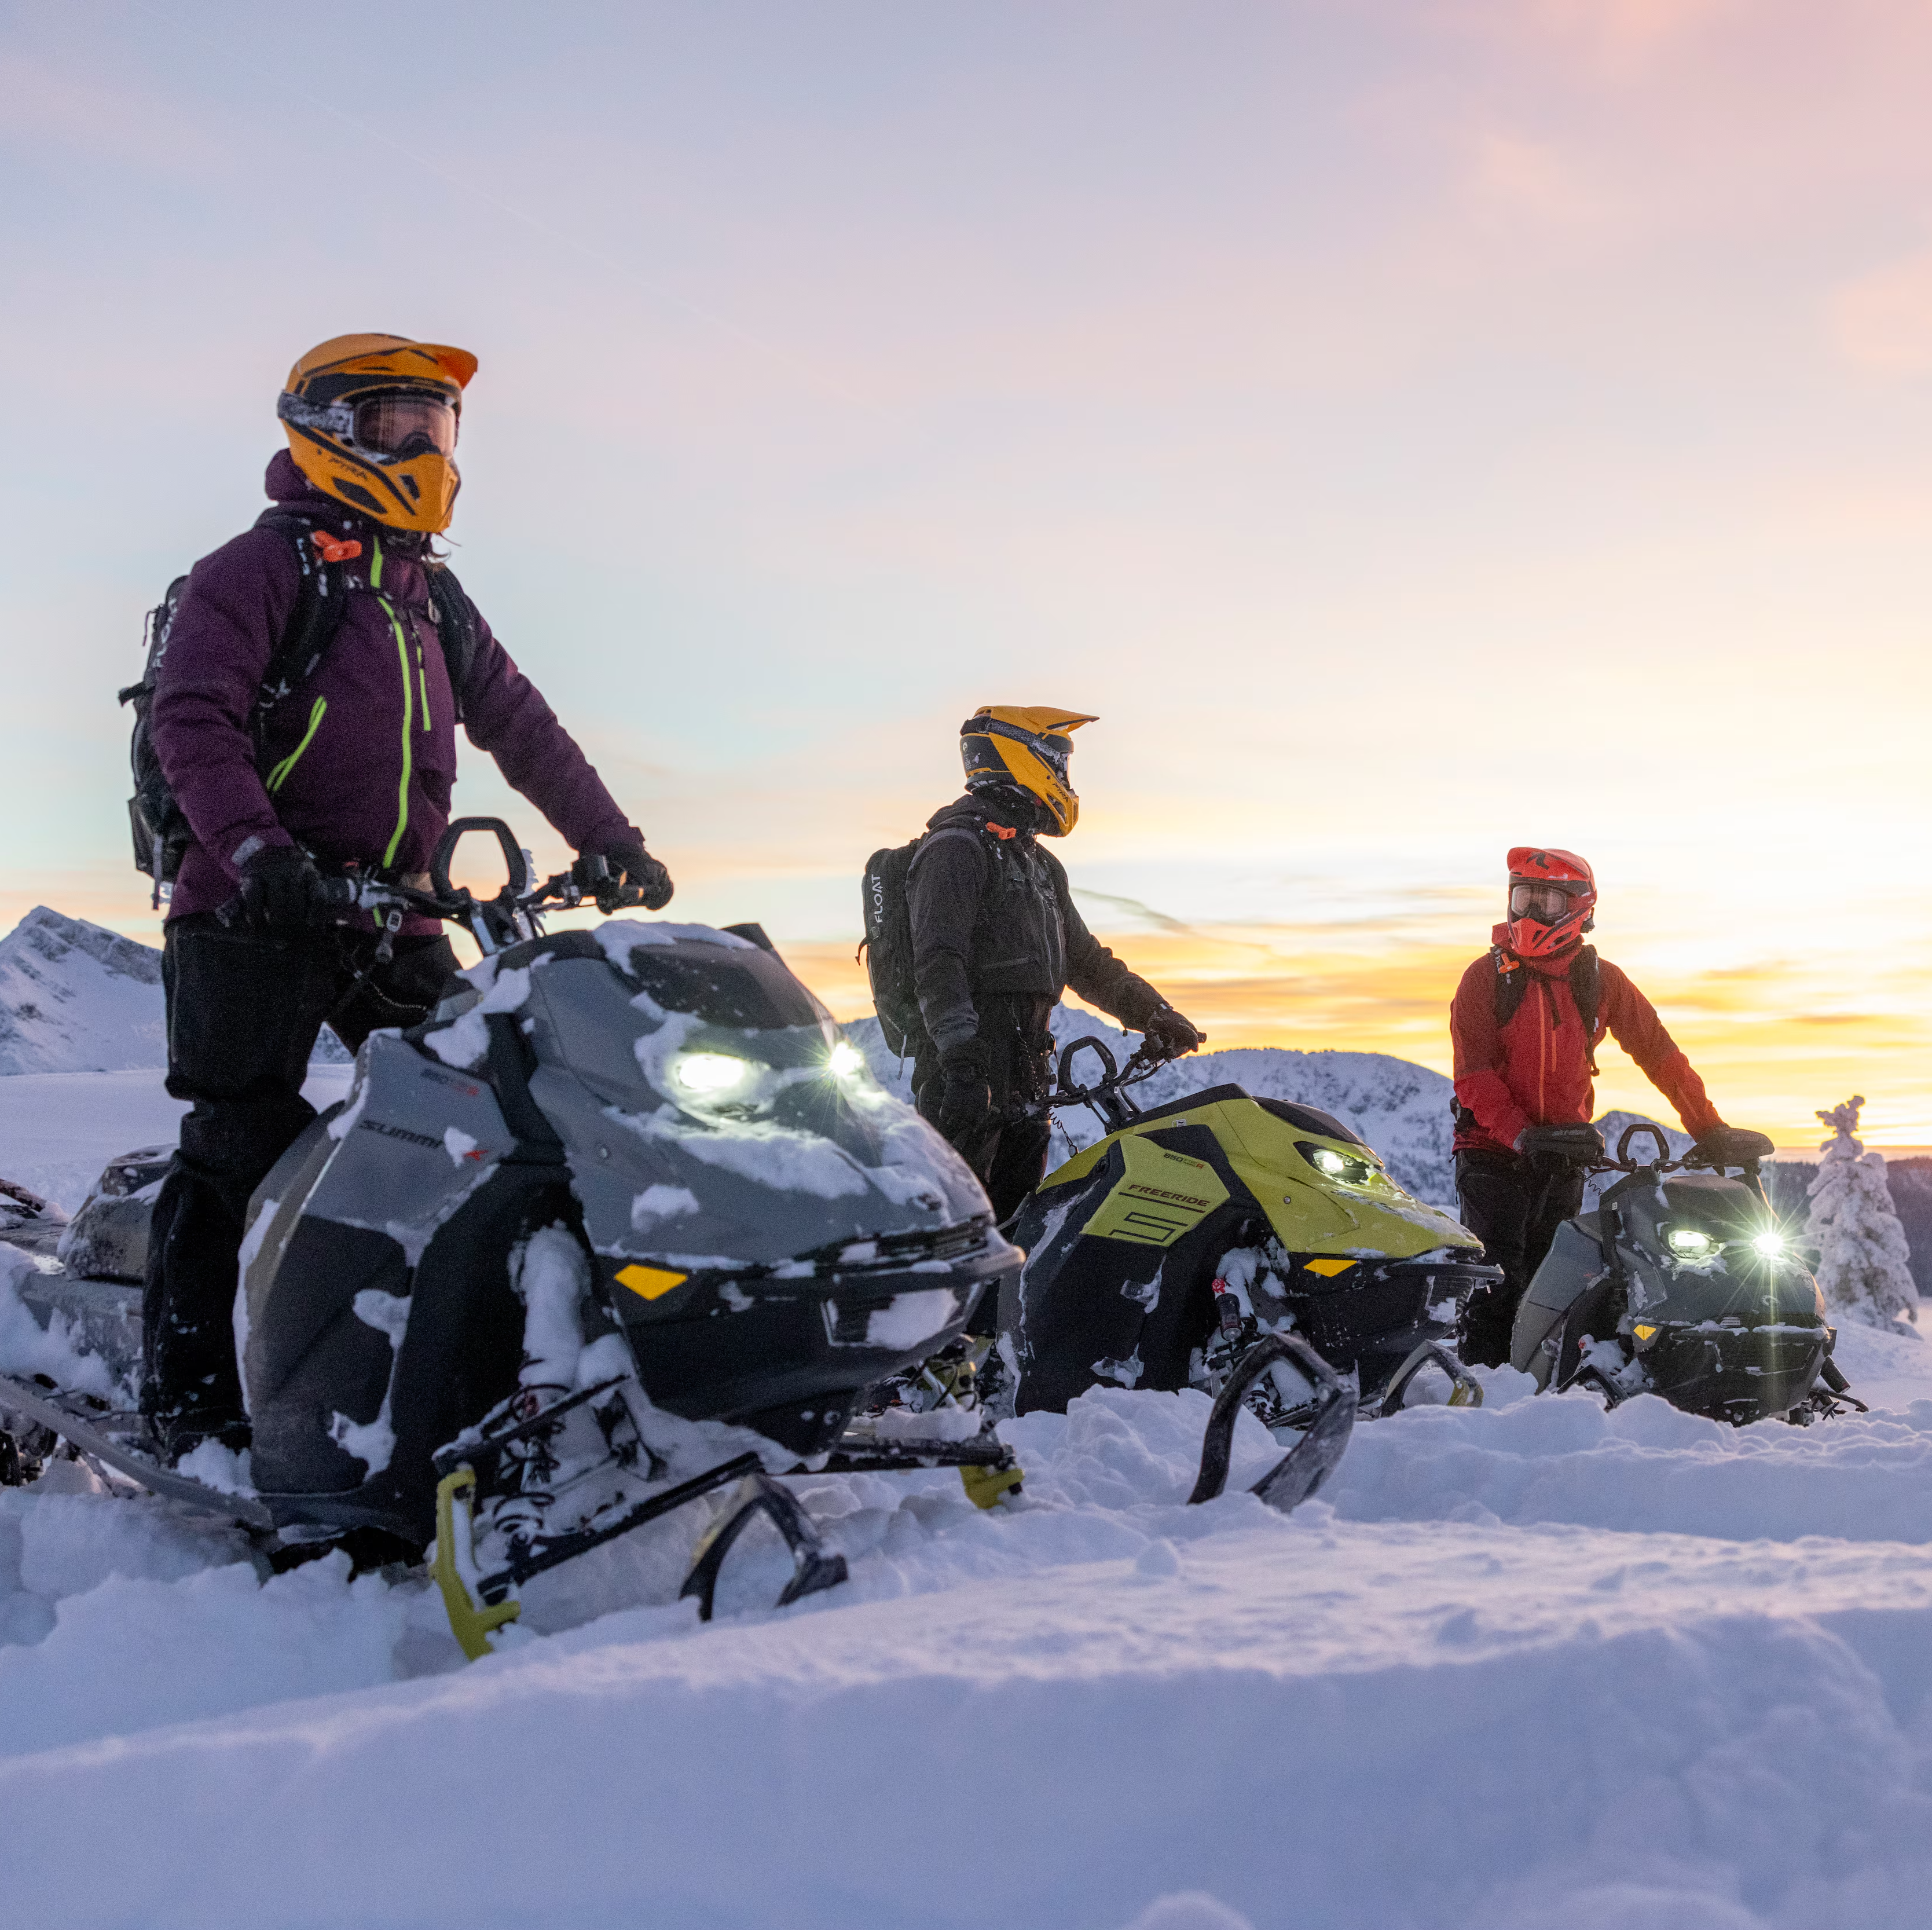
2. The action or context shot. The item being used the way a renter will actually use it: the kayak on water, the ATV on a trail, the tent set up. This is what sells the experience, not just the object.
3. The honest condition shot. A straight-on photo showing real wear — scuffs, faded fabric, the things that are true about a used rental unit. This is the photo that prevents a damage dispute later, because the renter saw the actual condition before they booked. If you only take one "boring" photo, make it this one.
4. The detail shot. Whatever matters for that category: tire tread on an ATV, zipper condition on a tent, the seat and controls on a jet ski. Zoom in on the thing a careful renter would ask about if they were standing in front of it.
5. The scale and accessories shot. What's actually included — helmet, paddle, life jacket, straps — laid out together, plus something that gives a sense of real-world size if that's not obvious from the hero shot.
Five photos, shot the same way for every unit in a category, does more for how professional your listings look than any single great photo taken once.
Shooting tips that don't require equipment
Shoot outdoors, in open shade or during golden hour, not direct midday sun. Harsh overhead light creates hard shadows that hide detail exactly where a renter wants to see it — on the surface condition of the item. Overcast days are a gift for equipment photography; use them.
Pick one consistent background per category and reuse it. A shop building trust doesn't need an interesting background — it needs a consistent one, so ten ATV listings look like they belong to the same well-run business instead of ten different improvised photo sessions.
Shoot at the item's level, not down at it. A phone held at standing height shooting down makes equipment look smaller and less substantial than it is. Get the camera roughly level with the item.
Clean the item before you shoot it, not after. This sounds obvious and gets skipped constantly. A clean item photographed once looks better in every listing forever; a dirty item photographed once looks bad in every listing until you reshoot it.
Keep other businesses' branding, license plates, and faces out of frame. Beyond the professionalism issue, this avoids consent and liability questions you don't need.
Batch workflow, not one-off shoots
The businesses with consistently good photos aren't taking better individual pictures — they've built a repeatable process:
- Shoot a whole category in one session. All your kayaks in one afternoon, same background, same light, same five-shot list per item. Batching prevents the drift where item #1 was shot carefully and item #12 was shot in a rush at closing time.
- Rename and sort files before uploading, so hero shots go up first and the upload order matches your intended display order.
- Compress before uploading. Most phones offer an export or share option that reduces file size with minimal visible quality loss — use it, especially for anything approaching the 10 MB limit.
- Reshoot on a schedule, not just on damage. Equipment wears. A reshoot every season keeps your "honest condition shot" honest, instead of slowly drifting out of date until a renter is surprised by wear that photos from two years ago didn't show.
- Assign it to one person. Photo consistency across a fleet mostly comes down to one person owning the process, not several people photographing items differently whenever they get around to it.
Common mistakes
Using the manufacturer's catalog photo instead of your actual unit. Covered above, but it's the single most common mistake and the most damaging one — it sets a false expectation that your real equipment then has to disappoint.
One photo per listing. A single photo, however good, can't do the job of the five-shot list above. It shows the item exists; it doesn't build the trust that gets someone to book it.
Inconsistent quality across a fleet. Three professional-looking listings next to seven dark, cluttered ones make your whole storefront look less trustworthy than any individual bad photo would on its own — renters browsing a category notice the inconsistency.
No condition photo at all. If every photo shows the item looking brand new, you've traded a short-term "looks nicer" impression for a long-term dispute risk. See our guide on what to do when a customer damages your rental equipment for how much this matters at return — the condition photo on your listing is the first half of that documentation trail, not just marketing.
Forgetting photos are part of your inventory workflow, not a separate task. When you're already tracking each item's availability and maintenance status, adding "reshoot when condition changes materially" to that same routine is a small addition, not a new system.
A quick reference checklist
- Hero shot: clean background, full item, good light
- Action/context shot: item in real use
- Honest condition shot: real wear, no hiding it
- Detail shot: category-specific (tires, zippers, controls)
- Scale/accessories shot: what's included, sense of size
- Shot in open shade or golden hour, not harsh midday sun
- Consistent background across the same category
- Camera at item level, not shooting down
- Item cleaned before shooting, not after
- Files compressed and under 10 MB
- Hero shot uploaded first (no cover-photo field — upload order is display order)
- Reshoot scheduled for next season, not left indefinite
Frequently asked questions
How many photos should a rental listing have?
At minimum, five: a hero shot, an action or context shot, an honest condition shot, a category-specific detail shot, and a shot of included accessories or scale. Fewer than that leaves real questions unanswered; a single photo can't do the job of showing an item is real, in good working condition, and worth booking.
Should I use the manufacturer's stock photos for my rental listings?
No. Stock and catalog photos set an expectation your actual, used equipment then has to meet at pickup — and usually won't. A real photo of your actual unit, including its real wear, builds more trust than a flawless photo of a unit the renter won't receive, and it reduces disputes over pre-existing damage later.
What file formats and sizes work for uploading rental photos?
In Renta, JPEG, PNG, WebP, and GIF are all supported, up to 10 MB per file. There's no built-in cropping tool, so compose and crop the image before uploading. Compress large phone photos first if they're near the size limit.
Does photo order matter on a rental listing?
Yes, in practice. There's no separate "cover photo" setting — photos display in the order they're attached to the item — so whichever photo you upload first functions as the hero image. Upload your strongest, cleanest shot first.
How often should I update my rental equipment photos?
At least once a season, and any time an item's condition changes materially. Equipment wears, and photos that no longer reflect real condition either understate wear (creating a disappointing pickup) or overstate it (making a well-maintained item look worse than it is).
Do better photos actually increase rental bookings?
Photos are the primary way a renter evaluates a listing before booking, since they can't inspect the item in person first the way a retail shopper often can. Clear, honest, consistent photos reduce the uncertainty that makes someone hesitate or book somewhere else — but we don't have Renta-specific data isolating photo quality as a variable, so treat this as sound general practice rather than a measured guarantee.
The bottom line
Good rental equipment photography isn't about better gear or more talent — it's about a repeatable shot list, consistent light and background, and being honest about condition instead of borrowing a manufacturer's best day. Do that once per category and reuse the process every time you add or reshoot an item.
Managing the fleet behind those photos? Renta's pricing is $0/month with a 2.5% renter-paid fee, or $300/month flat — both plans include the storefront, fleet tracking, and photo uploads described here.
- Get started free and set your fleet's photos up before your next booking window.
- Read next: How to Manage Rental Inventory Without Losing Your Mind and What to Do When a Customer Damages Your Rental Equipment.